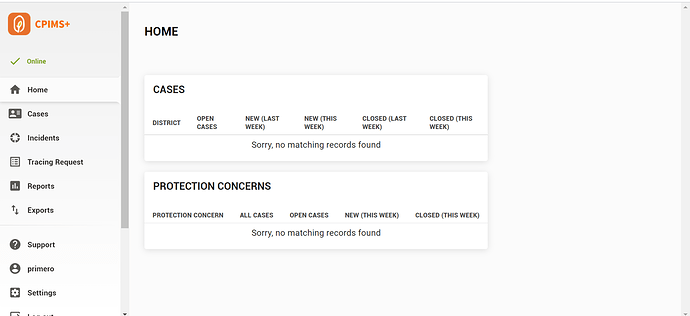
So maybe you have read the programmatic guidance for self hosting, self hosting set up and background info, the hosting requirements checklist, you have completed all the security tasks, you have reviewed the Tier 4 Deployment Workplan, you have hired world class dev ops engineers/system admins and topped your bank account up to overflowing.
Looks like you may be ready to self host!
Target
Install Ubuntu 20.04 LTS and upgrade the target machine if you have not already done so:
sudo apt-get update && sudo apt-get upgrade
![]() This machine needs to have a public world reachable IP address and FQDN
This machine needs to have a public world reachable IP address and FQDN
Deployment
Copy your ssh key to the target machine and make sure you have passwordless ssh access
ssh-copy-id @xxx.xxx.xx.xxx
Then install the required packages
sudo apt-get install python3-all python-is-python3 python3-pip python3-venv pwgen
also upgrade pip
pip install --upgrade pip
Clone the repository and enter the correct folder
ian@wintermuted:~/Dev$ mkdir v2-deploy
ian@wintermuted:~/Dev$ cd v2-deploy/
ian@wintermuted:~/Dev/v2-deploy$ git clone git@github.com:primeroIMS/primero.git
ian@wintermuted:~/Dev/v2-deploy$ cd primero/ansible
Create the virtual environment
ian@wintermuted:~/Dev/v2-deploy/primero/ansible$ virtualenv ../venv
edit the bin/activate script
ian@wintermuted:~/Dev/v2-deploy/primero/ansible$ vi bin/activate
and comment out line 58
#env_builder.create(paths.venv_dir)
then run activate
ian@wintermuted:~/Dev/v2-deploy/primero/ansible$ bin/activate
this should finish something like this
Starting galaxy collection install process
Process install dependency map
Starting collection install process
Installing 'quoin.infrastructure:1.0.0' to '/home/ian/Dev/v2-deploy/primero/ansible/ansible_collections/quoin/infrastructure'
Created collection for quoin.infrastructure at /home/ian/Dev/v2-deploy/primero/ansible/ansible_collections/quoin/infrastructure
quoin.infrastructure (1.0.0) was installed successfully
Create the file inventory.yml in the folder
~/Dev/v2-deploy/primero/ansible/inventory
containing the following content (you need to change whatever is between the < > symbols and then remove the <> symbols)
---
all:
  hosts:
    <tutorial.jozian.com>:
      ansible_user: 'root'
      primero_host: '<tutorial.jozian.com>'
      primero_tag: 'latest'
      locale_all: 'en,fr,ar'
      always_pull: true,
      # These 3 variables are used to drive the build task.
      # Can be omitted if pulling images from Dockerhub
      primero_repo_branch: 'development_v2'
      build_docker_tag: 'latest'
      build_docker_container_registry: ''
      # If you want to seed from a private configuration repo
      #primero_configuration_repo: 'git@bitbucket.org:quoin/primero-x-configuration.git'
      #primero_configuration_repo_branch: 'master'
      #primero_configuration_path: 'directory/of/config/loader/script'
      use_lets_encrypt: 'true'
      # The other certbot/lets_encrypt variables are optional. Include only if using Let's Encrypt
      certbot_domain:
      - '{{ primero_host }}'
      certbot_email: '<someone@jozian.com>'
      lets_encrypt_domain: '{{ primero_host }}'
      lets_encrypt_email: '{{ certbot_email }}'
      # Different for self-signed certs
      nginx_ssl_cert_path: '/etc/letsencrypt/live/primero/fullchain.pem'
      nginx_ssl_key_path: '/etc/letsencrypt/live/primero/privkey.pem'
      # Optionally parametrize Primero containers with other environment attributes.
      # Do not use this dictionary for secrets!!!
      environment_variables:
        PRIMERO_DEFAULT_USERS: 'true' # Seed default users when using the managed Primero SaaS configs
        # LOCALE_DEFAULT: 'ar' # Optionally override English as the default locale.
Create secrets.yml in the folder
~/Dev/v2-deploy/primero/ansible
and then generate 5 strings as your secrets.
ian@wintermuted:~/Dev/v2-deploy/primero/ansible$ pwgen -s 32 5
copy the generated strings to the file secrets.yml (you need to add each one between the < > symbols and then remove the <> symbols)
primero_secret_key_base: ‘< >’
primero_message_secret: ‘< >’
postgres_password: ‘< >’
devise_secret_key: ‘< >’
devise_jwt_secret_key: ‘< >’
Once you have done this then activate the virtual environment
ian@wintermuted:~/Dev/v2-deploy/primero/ansible$ source ../venv/bin/activate
and bootstrap
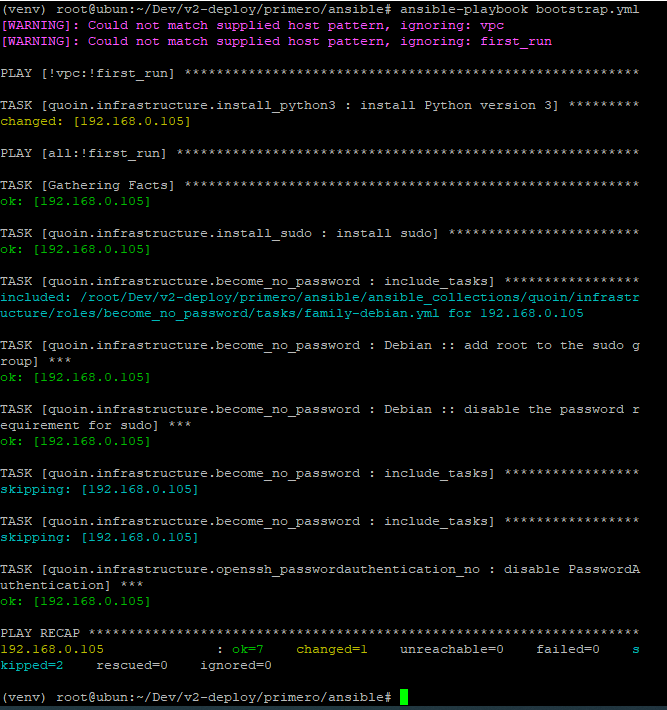
(venv) ian@wintermuted:~/Dev/v2-deploy/primero/ansible$ ansible-playbook bootstrap.yml
this should finish something like this
PLAY RECAP *********************************************************************
tutorial.jozian.com        : ok=7    changed=4    unreachable=0    failed=0    skipped=2    rescued=0    ignored=0
then do docker
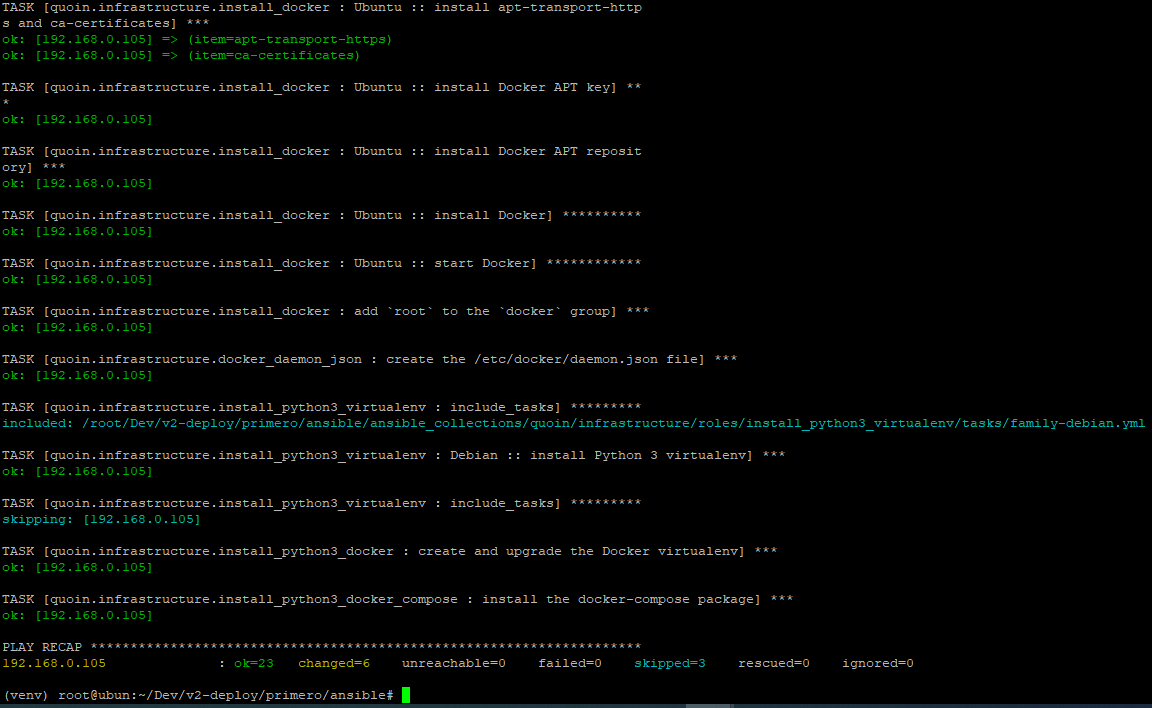
(venv) ian@wintermuted:~/Dev/v2-deploy/primero/ansible$ ansible-playbook install-docker.yml
load the primero secrets
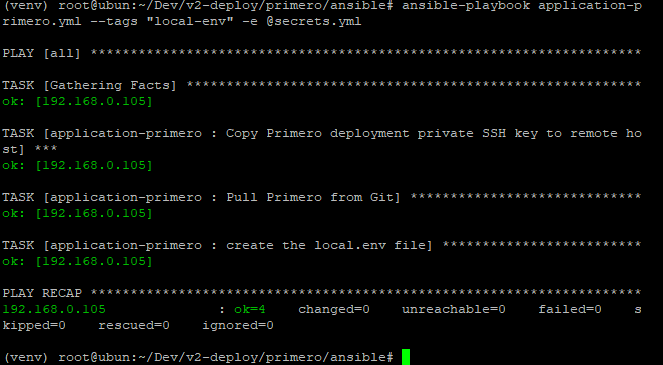
(venv) ian@wintermuted:~/Dev/v2-deploy/primero/ansible$ ansible-playbook application-primero.yml --tags "local-env" -e @secrets.yml
and then install Primero
(venv) ian@wintermuted:~/Dev/v2-deploy/primero/ansible$ ansible-playbook application-primero.yml --tags configure,start
and finally install Lets Encrypt Certs (its better however to use your own bought certificates if self hosting)
(venv) ian@wintermuted:~/Dev/v2-deploy/primero/ansible$ ansible-playbook certbot.yml
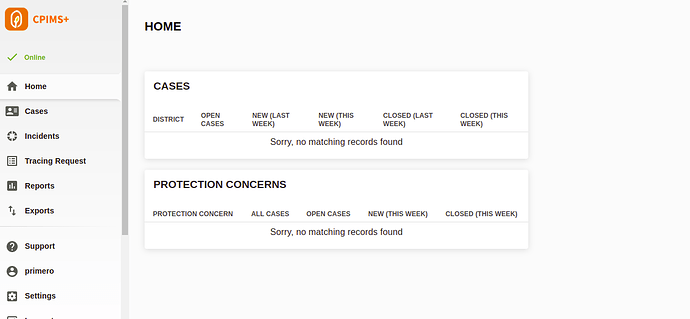
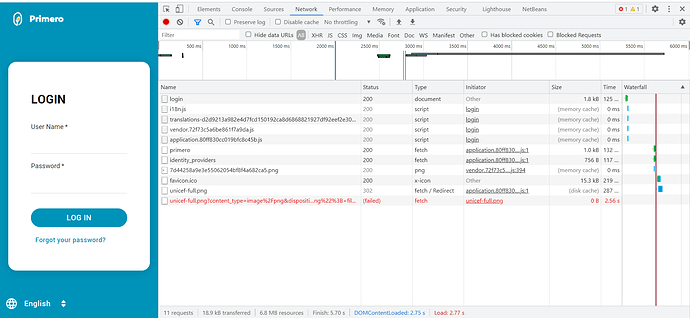
then visit the domain you supplied in the primero_host variable of inventory.yml and you can login to the CPIMS+
Now that your system is up and running you should now be thinking about maintenance and upgrading strategies for your production machine
Note
If you need to look at the containers and the code which was actually installed on the target do this
sudo -s
docker ps
which will output all the containers like
6423f1d80c6b   primeroims/nginx:latest         "/usr/local/bin/entr…"   11 minutes ago   Up 11 minutes   0.0.0.0:80->80/tcp, :::80->80/tcp, 0.0.0.0:443->443/tcp, :::443->443/tcp   primero_nginx_1
a633ce0f0c53   primeroims/application:latest   "/entrypoint.sh bund…"   11 minutes ago   Up 11 minutes
so to access the application code do
docker exec -it a633ce0f0c53 sh
